Wondering how to take a screenshot on your laptop?
Whether you’re using Windows or macOS, you’ve come to the right place. Capturing your screen has become essential for many tasks—saving information, sharing issues, or documenting your work.
In this guide, we’ll walk you through the different ways to take a screenshot using keyboard shortcuts or built-in tools, along with options to save, edit, and share your images.
🔹 1. Why Take a Screenshot on Your Laptop?
- To share step-by-step tutorials
- To document technical issues
- To capture temporary content from apps or websites
- To save stills from videos or presentations
🔹 2. How to Take a Screenshot on Windows
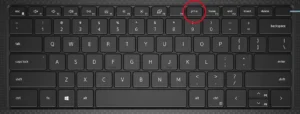
Method 1: Print Screen (PrtScn)
- Captures the entire screen to your clipboard
- Paste it into an app like Paint or Word using Ctrl + V
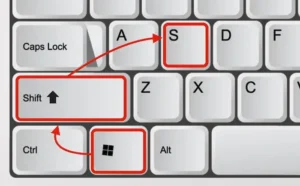
Method 2: Windows + Shift + S (Snip & Sketch)
- Lets you select a portion of the screen
- Image is saved temporarily and can be edited instantly
Method 3: Windows + PrtScn
- Takes a full screenshot and automatically saves it in:
Pictures > Screenshots
Method 4: Snipping Tool
- Search for “Snipping Tool” from the Start menu
- Offers 4 modes: Rectangle, Free-form, Window, Full-screen
🔹 3. How to Take a Screenshot on macOS
Method 1: Command + Shift + 3
- Captures the entire screen and saves it to the desktop
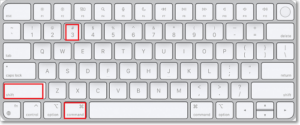
Method 2: Command + Shift + 4
- Lets you select a specific area
- Press Space to capture a specific window
Method 3: Command + Shift + 5
- Opens the built-in screenshot and screen recording tools
🔹 4. Where Are Screenshots Saved & How to Edit Them?
- Windows: Saved in
Pictures > Screenshotsby default - macOS: Saved to the Desktop by default
You can use:
- Paint or Photos (Windows)
- Preview or Photos (Mac)
- External tools like Canva or Photoshop
🔹 5. Extra Tips to Master Screenshots
- Use snipping tools to capture only what matters
- Save in PNG or JPG formats as needed
- Try advanced tools like:
—> Greenshot – Simple and powerful
—>Lightshot – Fast and shareable
Knowing how to take screenshots makes everyday tasks easier—whether you’re a student, employee, or casual user. Choose the method that suits you best, and start capturing what matters in just one click.
📎 Share this guide with someone who might find it helpful!